Reports
Reports give you a structured overview of the drawing's content – bill of materials, list of wires, list of cables and more. They come in two forms:
Free-standing Reports
They are shown through the Outputs menu. They are ideal for filling in data about symbols and wires, because you see the drawing and the report at the same time. The object being edited (symbol or wire) is highlighted directly in the drawing.
Embedded Reports
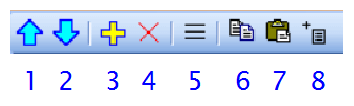
They are inserted into the project with the button
Reports can have a different paper size than the drawing pages. Each report can have its own paper orientation.
How to set the paper size for reports:
F12 - Document - Reports
How to set the paper orientation for reports:
In the Pages panel, double-click the page to open the dialog and select the Page Orientation tab.
Columns
You can customize the columns by right-clicking the table header. A menu appears that lets you:
- add or delete a column (
New column,Delete column) - set the column alignment (
Align left,Align middle,Align right) - set the column variable (
Column settings)
Change the order of the columns by dragging the header with the mouse. Click a header to sort the rows by that column.
Each column has a variable assigned. You can change it with the menu item Column settings.
Each report contains several predefined variables. Some reports (list of symbols, list of wires and list of cables) let you add columns with a custom variable. This variable is also an attribute of the symbol or wire.
Example: adding the manufacturer
In the list of symbols, choose the command New column. Enter a custom variable, for example man, and the column name Manufacturer. Confirm with OK. Now you can fill in the manufacturer for each item. Each symbol will have the attribute man with the value you entered.
Report Buttons
The report window has several buttons:

Columns
Lets you save the configuration of a report (which columns it contains) and load it again later. This way you can prepare different reports, for example by project type or customer requirements. More in the section Column Sets.

Copy to Clipboard
Copies the report data to the Windows clipboard. You can then paste it, for example, into MS Excel with Ctrl+V.

Export as CSV
Saves the data to a CSV file. This file can be opened or imported into MS Excel with the command Data - From Text/CSV.

Prints the report or saves it as PDF using the virtual printer Microsoft Print to PDF (or another PDF printer).

Filter
Lets you specify which symbols (components) are included in the bill of materials.
Column Sets
The Columns button opens the Column Sets dialog. There you save the current column setup of the report under a name and later apply it again with a single selection. Sets are stored separately for each type of report.
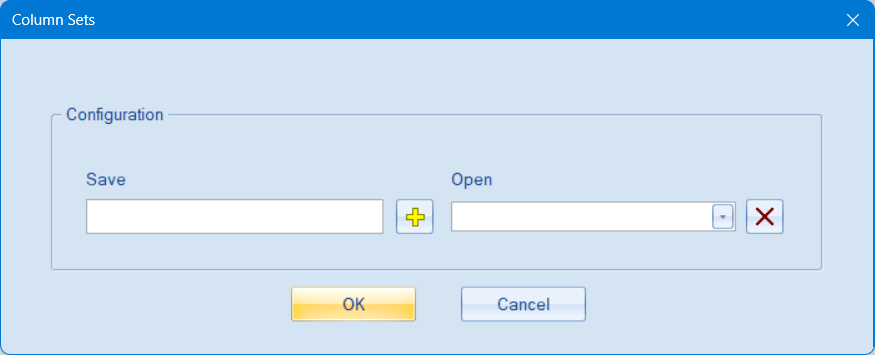
Save: First adjust the columns in the report (right-click the table header). Then open the dialog, type a name for the set in the Save field and click the + button. If a set with that name already exists, the program asks whether to overwrite it.
Load: In the Open list, choose the name of the set and confirm with OK. The report columns are set according to the set.
Update: Adjust the columns in the report and save them under the same name – confirm overwriting.
Delete: In the Open list, choose the set, click the × button and confirm.
The name of a set must be a valid file name – it must not contain the characters \ / : * ? " < > |.
💡 Pro tip: Save column configurations for different project types (switchboard, installation, PV). For a new project you then just load the right one and don't have to set up the columns from scratch every time.
